
How to Use “Custom Mode” to Customize Mini-Game Order in Drive
Knowledge Guru’s Drive has two delivery methods for minigames: Daily 3 and Custom. Read this article to learn about how to choose a delivery method. Custom allows game authors to choose how players complete their Drive experience.
To customize game order:
- Navigate to Customize > Minigame Delivery
- Choose Custom on the toggle.
- Drag minigames into the desired order.
- Choose how and when games become available. Note that the minigame at the top of the list will always be available.
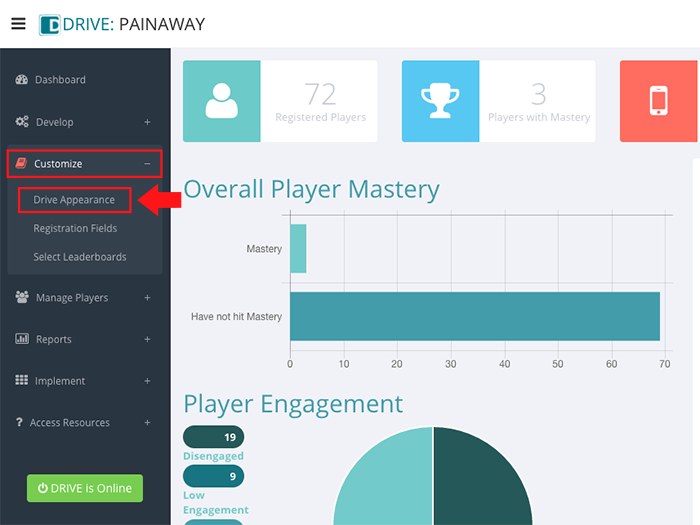
 Navigate to Customize > Minigame Delivery


There are five options to choose from to make minigames available. See below for suggestions for each option.
Always available
Use this option for any games that should be available upon first login. For example, the game for each topic that is lowest on Bloom’s Taxonomy could be set to always available, with subsequently more difficult games underneath it.
Once the previous game has been played once
Use this option if players should be able to move on to other content after being exposed to content in this game. With this option, players will only see one context before another game becomes available.
Once all content in the previous game has been seen
Use this option if players should play the minigame multiple times to gain exposure to the different scenarios and examples presented in the minigame.
Once the player has achieved mastery of the previous game
Use this option if players need a high level of mastery before moving on – such as for content that builds. This option unlocks the next game once players receive a mastery score of 800 or higher for that individual minigame.
After a certain date
Use this option to unlock content in phases, such as for a several training sessions spread across multiple weeks.