Knowledge Knight, Sharp Chef, and Fast Facts support the broadest array of learning objectives within Drive. These minigames utilize a similar structure, while each using its own game goal and graphics. They allow game authors to offer players a wide variety of experiences while presenting game content that is not a good fit for the other minigame options. The game goals are as follows:
Knowledge Knight: Scare away the dragon!
Sharp Chef: Cook a delicious dish!
Fast Facts: Win the race!
Their quiz-style format ensures easy play for your learners, but you can make the games as challenging as you need to depending on the content used. The authoring tool for each of these minigames lets you create a variety of multiple-choice style questions including true/false, select all that apply, fill-in-the-blank and ranking. You can incorporate images, video, or resources into a question.
Each daily play of Knowledge Knight, Sharp Chef, and Fast Facts will present learners with three questions to answer, making it quick to play and easy to do. The number of times a player will play a single Knowledge Knight game to fully master it, depends on the total number of questions you include in your game – and how well they perform on the questions.
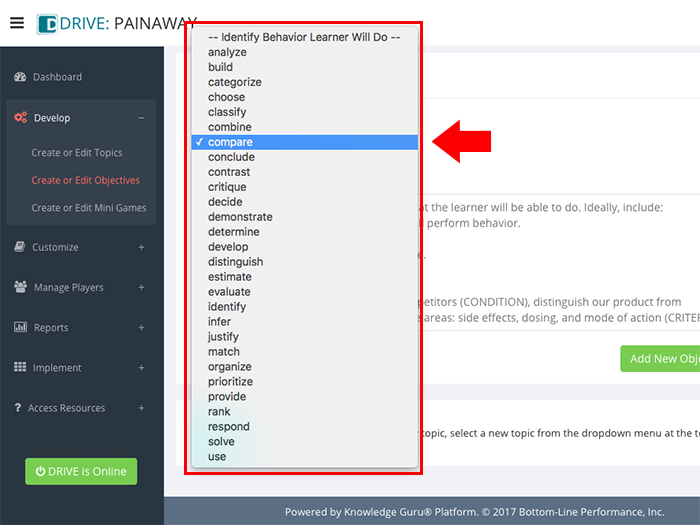
Use of these verbs within your learning objective means Knowledge Knight will be available to you as a mini-game option:
analyze, categorize, choose, combine, compare, conclude, critique, decide, demonstrate, determine, distinguish, estimate, evaluate, identify, infer, justify, organize, prioritize, respond, rank, solve, use
Here’s how to create a game.
Steps to Create a Knowledge Knight, Sharp Chef, or Fast Facts Game
(NOTE: These steps assume you have already created a game topic and an associated learning objective.)
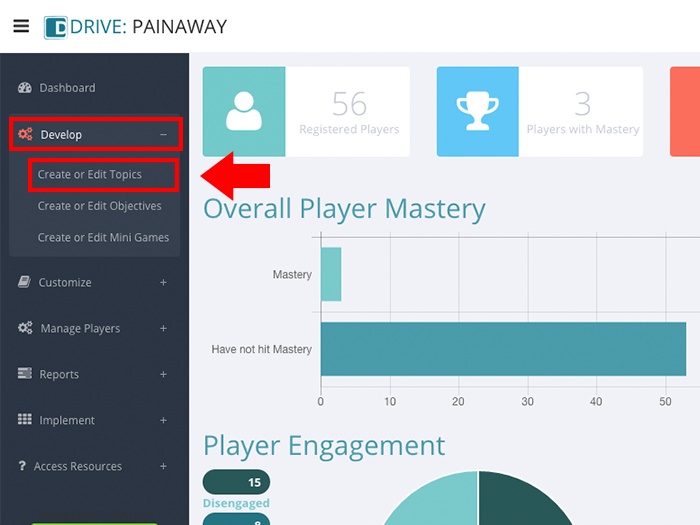
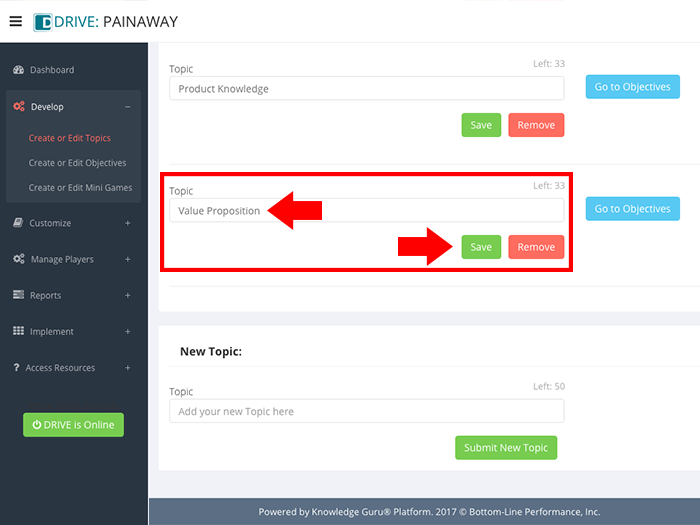
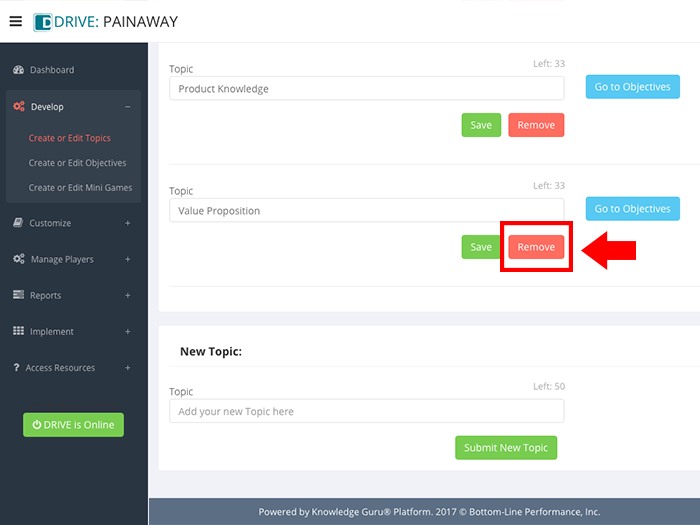
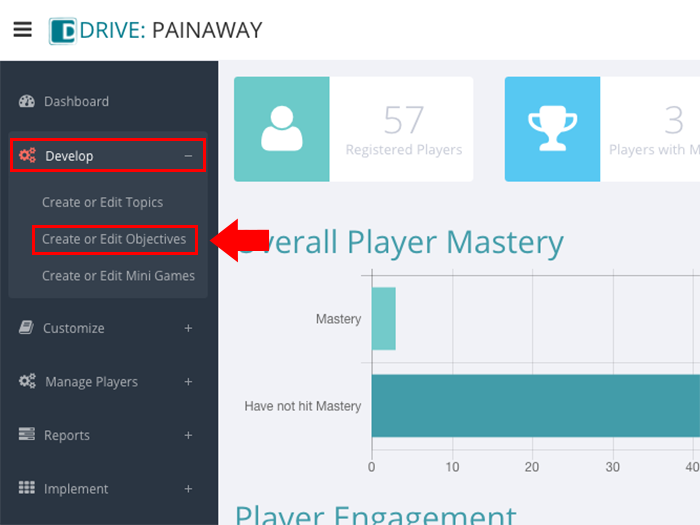
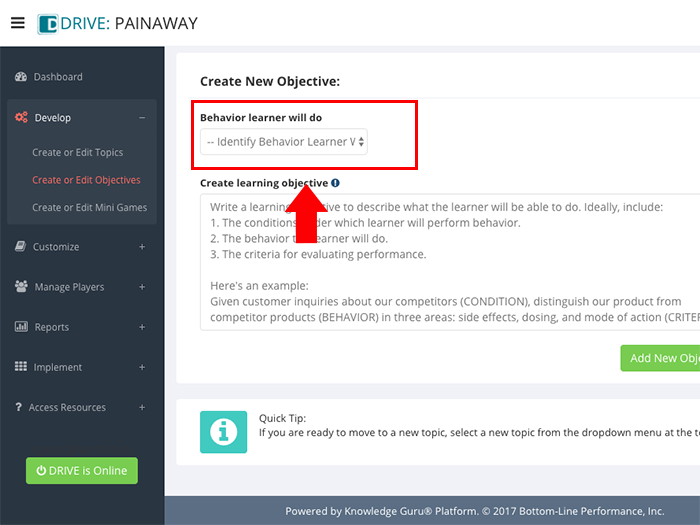
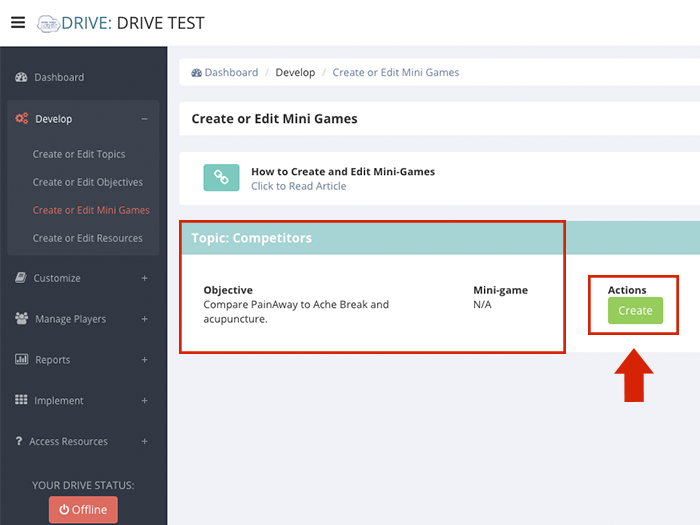
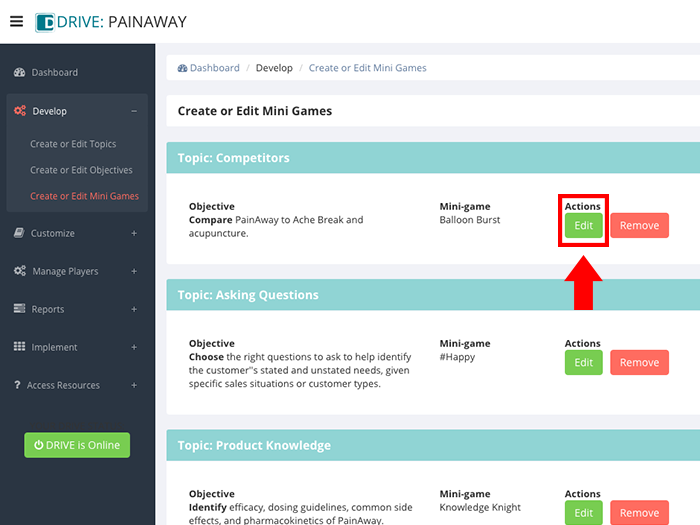
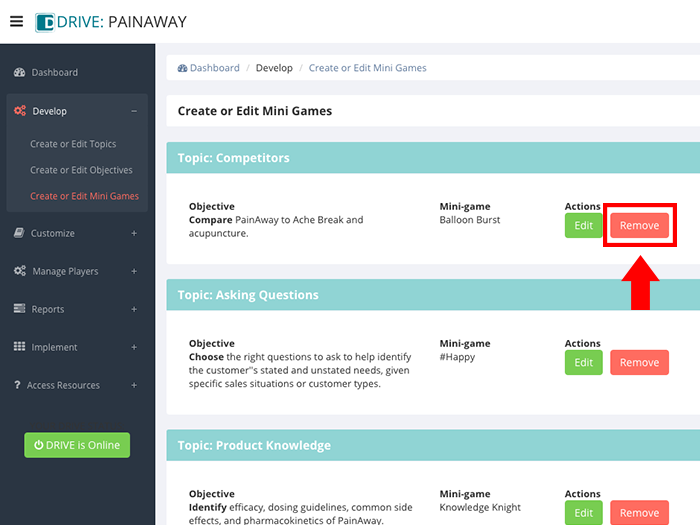
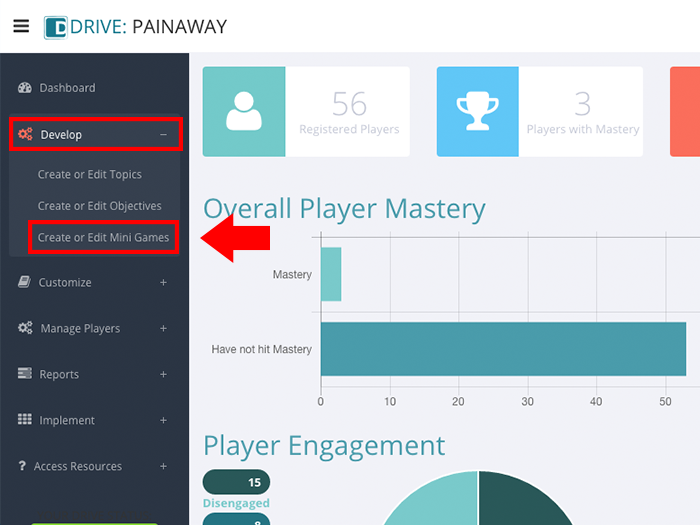
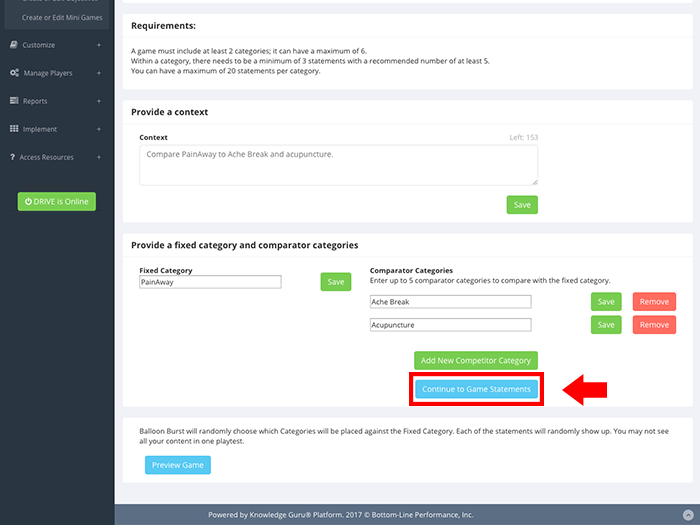
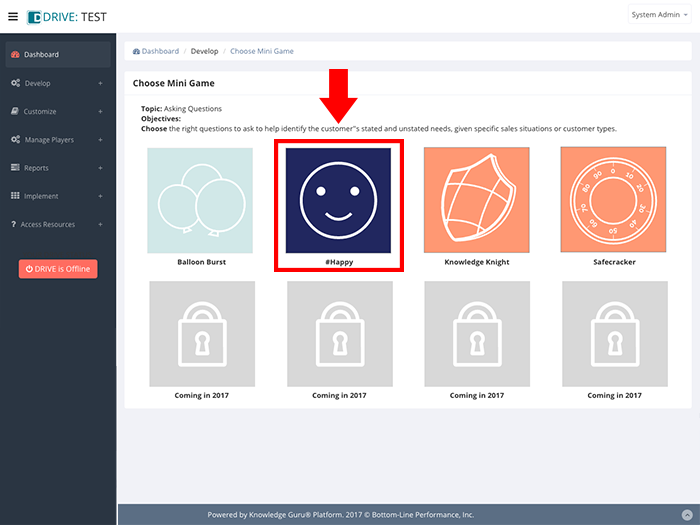
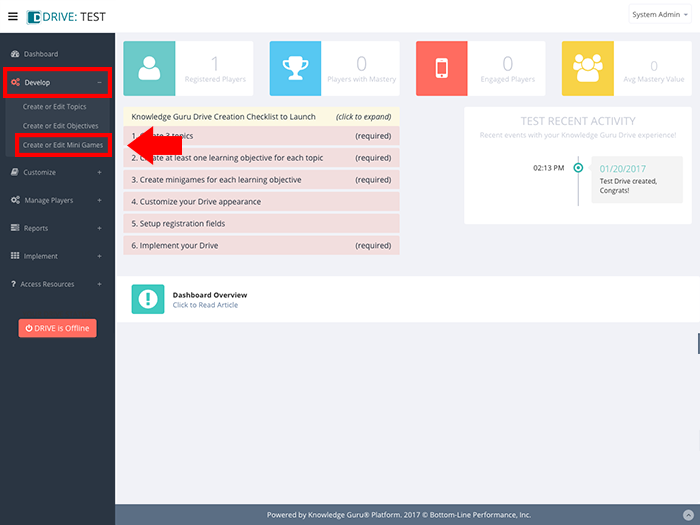
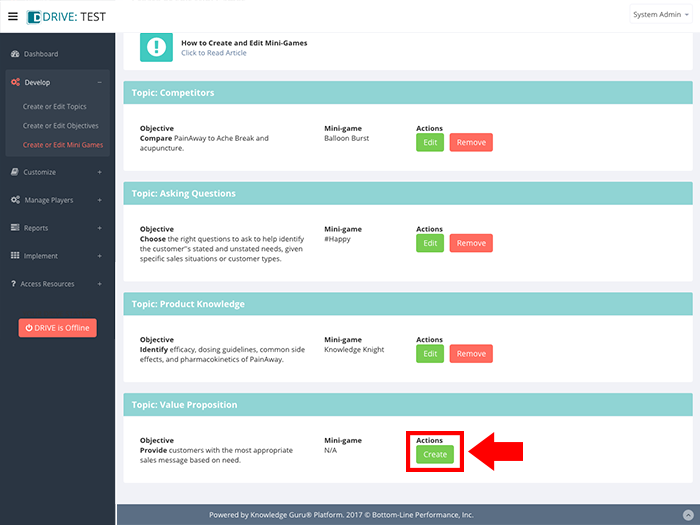
- Expand Develop option within left-hand navigation pane, and select Create or Edit Mini Games.
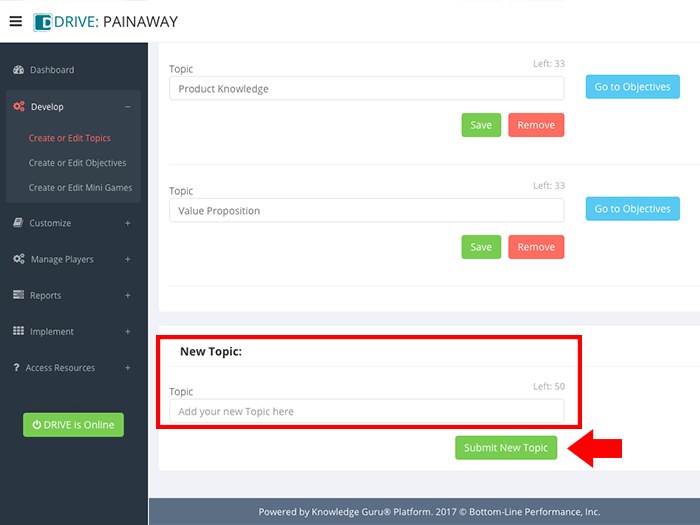
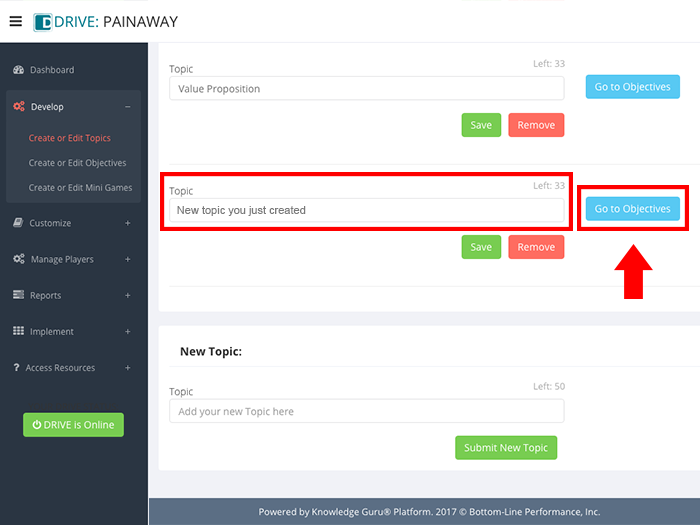
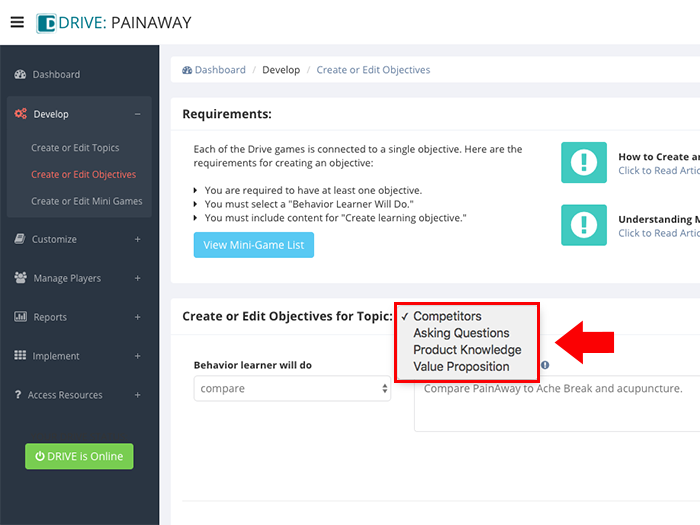
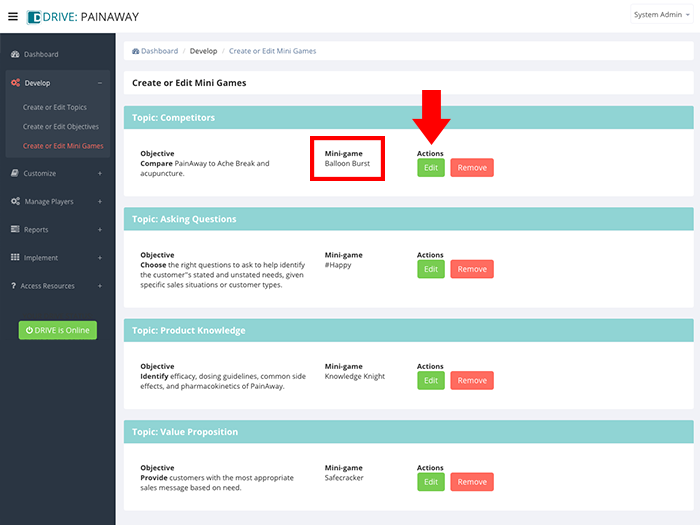
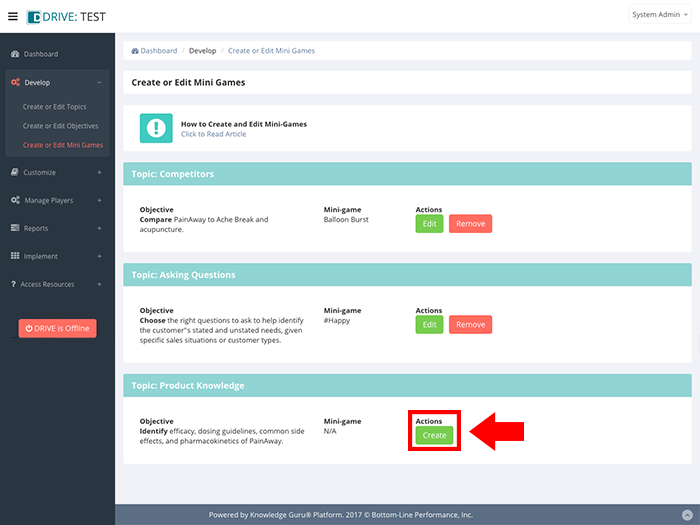
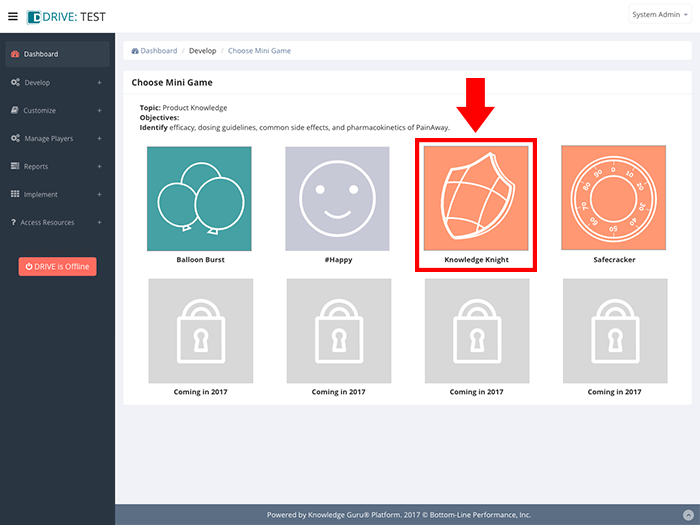
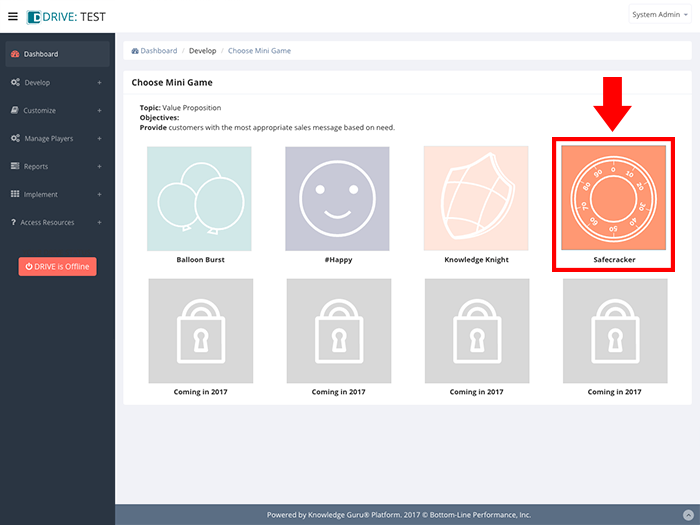
- Select the topic and learning objective for which you want to create a Knowledge Knight, Sharp Chef, or Fast Facts mini-game and click CREATE to launch the appropriate game creation wizard.
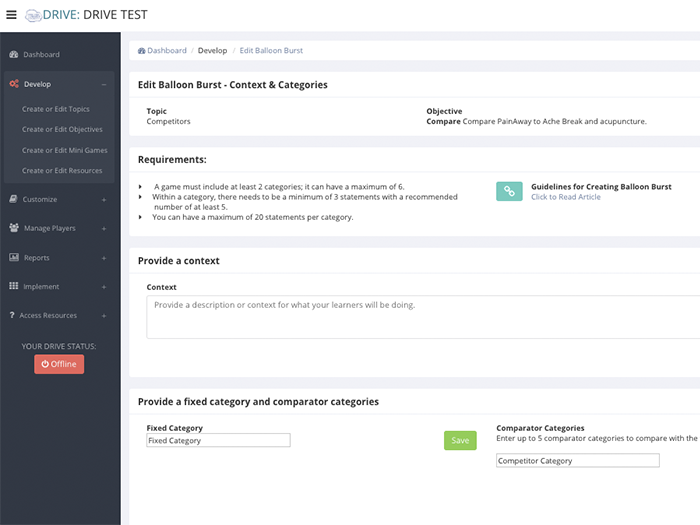
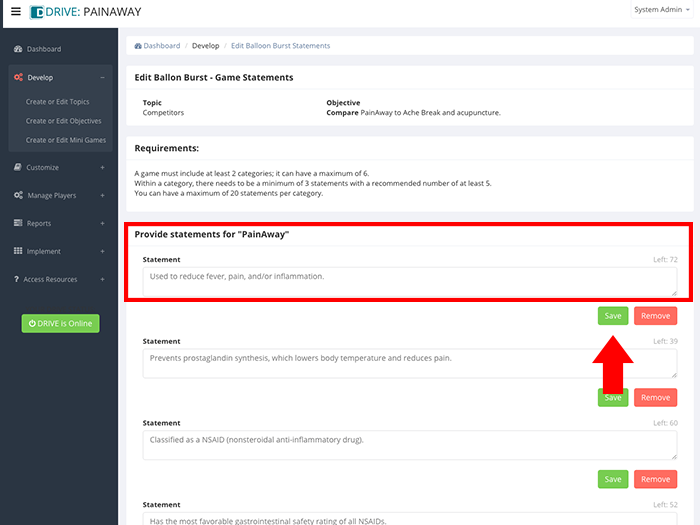
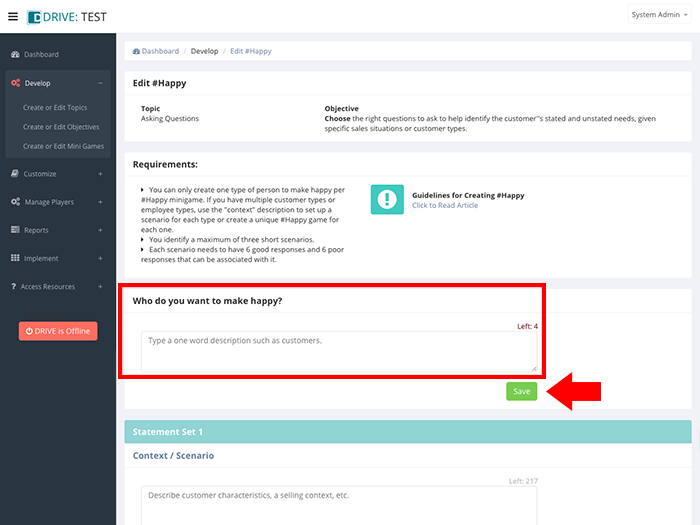
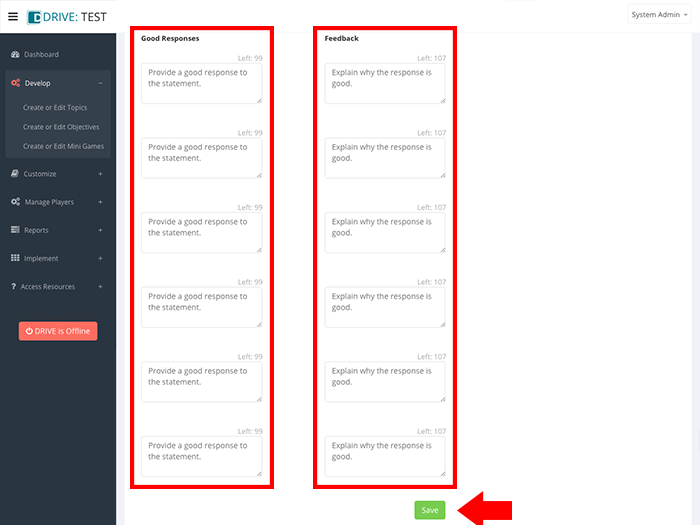
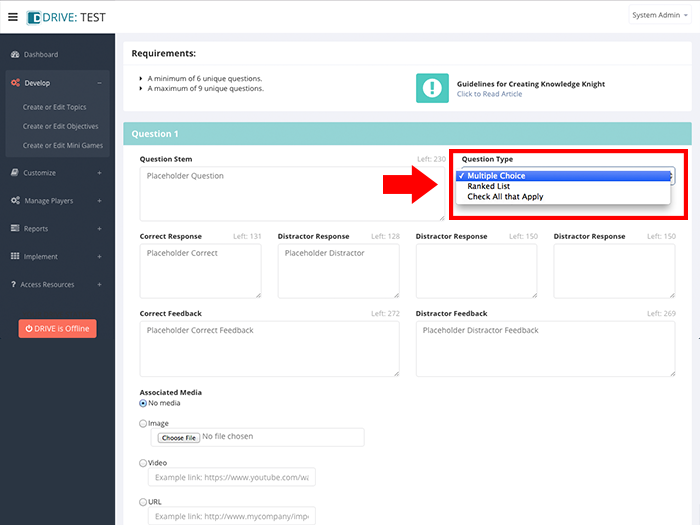
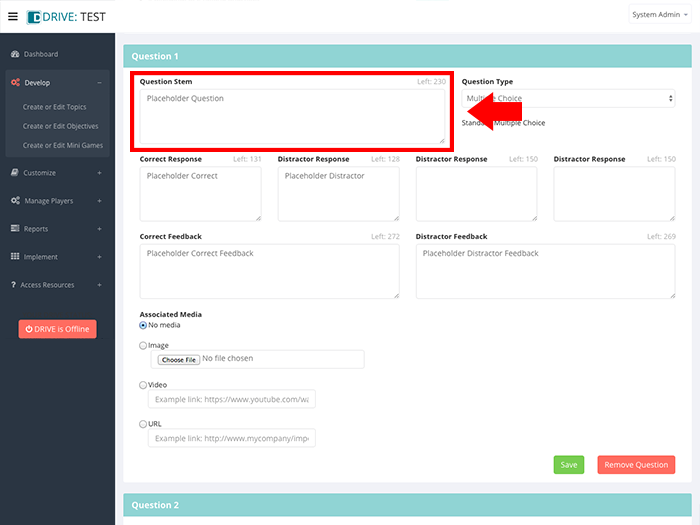
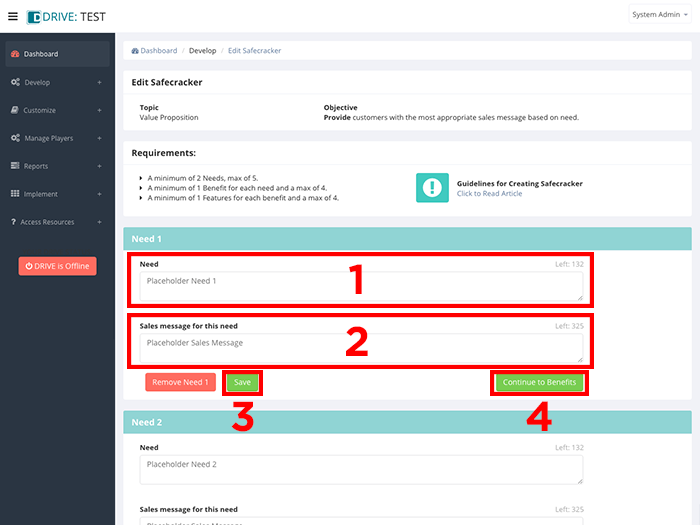
- Under Question 1, select your question type from the Question Type drop down menu on the right. (Multiple choice is the default type.)
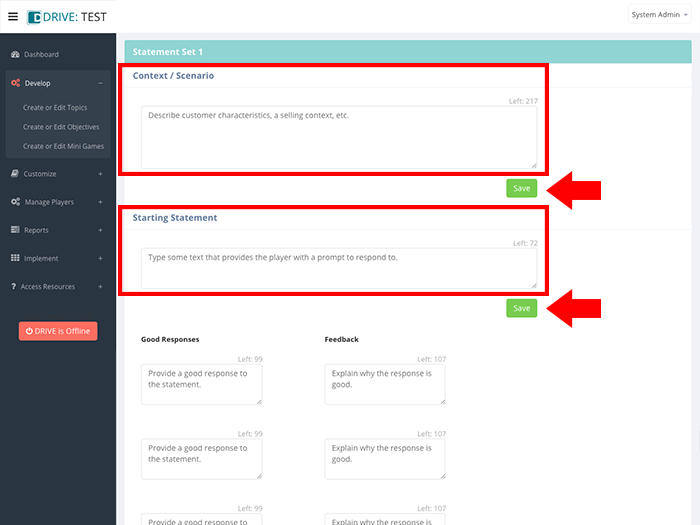
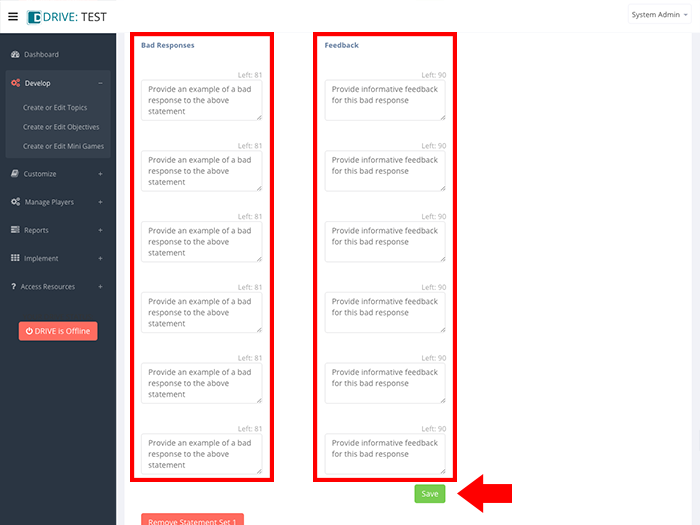
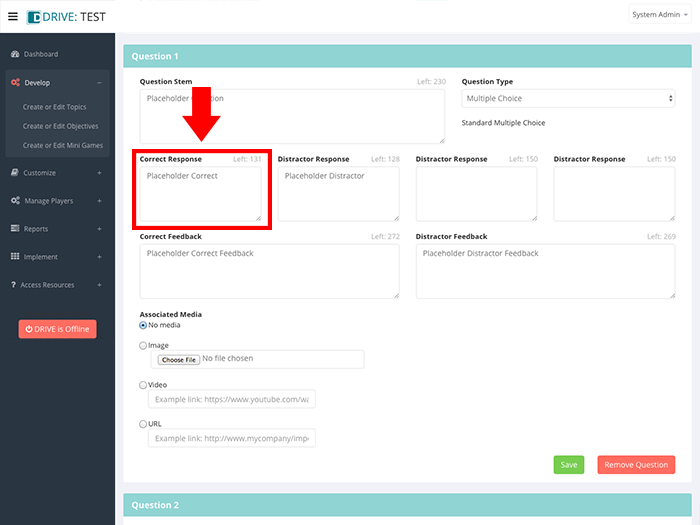
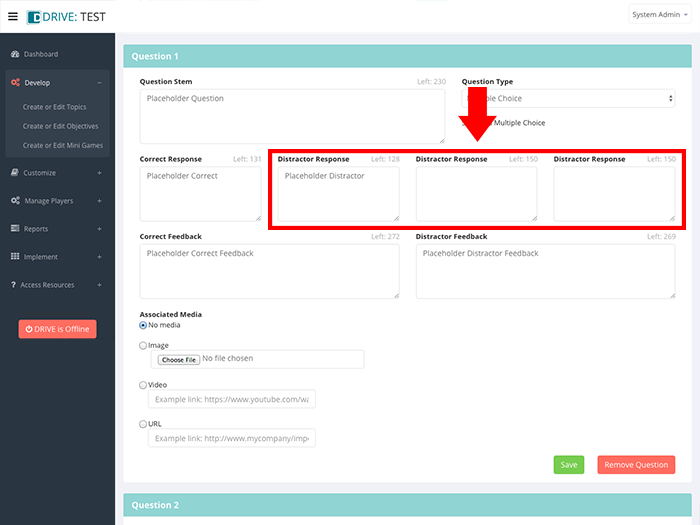
- Enter your question or statement in the Question Stem field. Use the other fields to enter a correct response and distractor responses. In the case of an “Answer in order” question type, enter the ranking order.
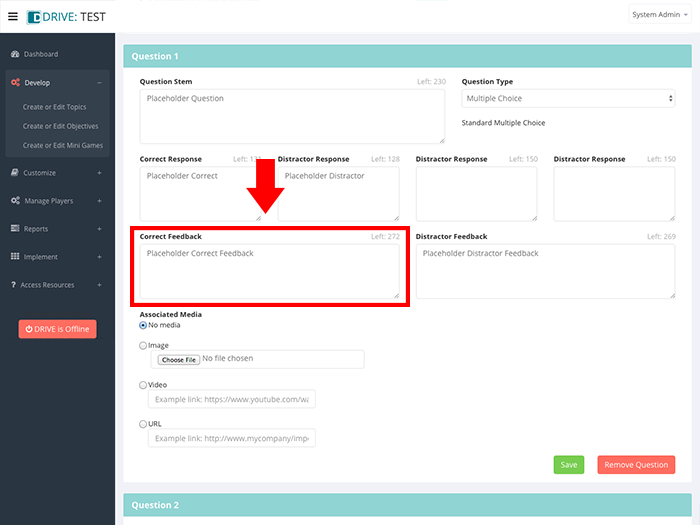
- Enter positive feedback for correct responses in the Correct Feedback field.
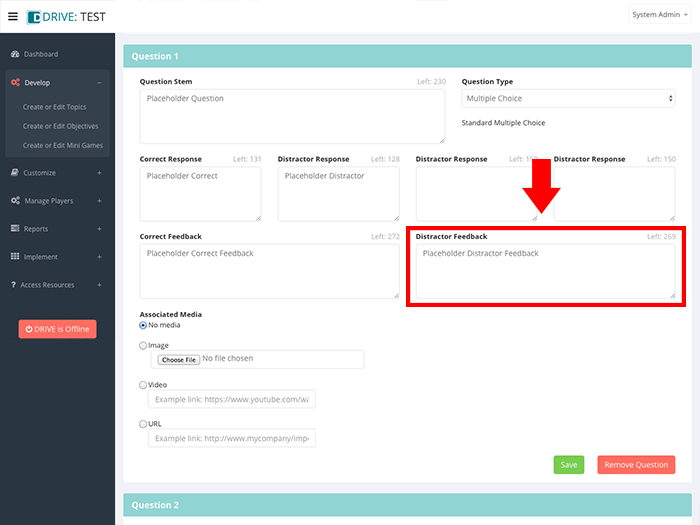
- Enter negative feedback for incorrect responses in the Distractor Feedback field.
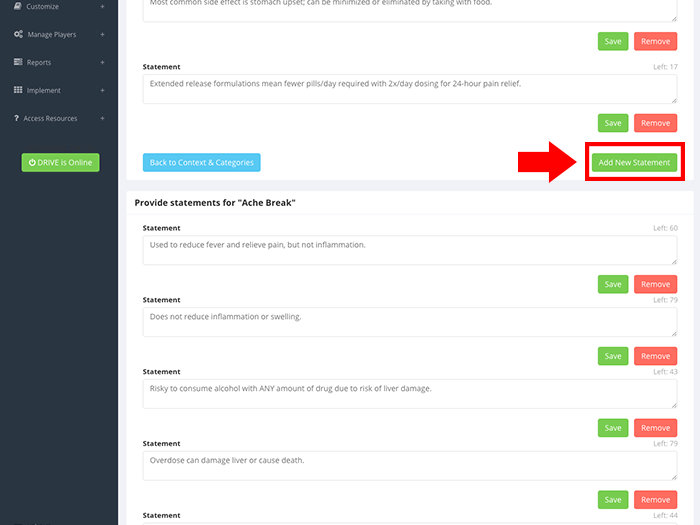
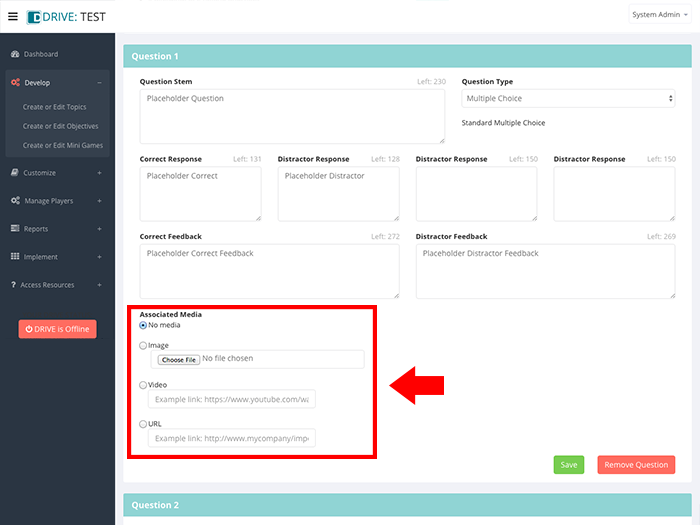
- If you want to include media, select which type (image, video, or URL) you want to include and either upload an image or copy and paste the URL for your video or web resource.
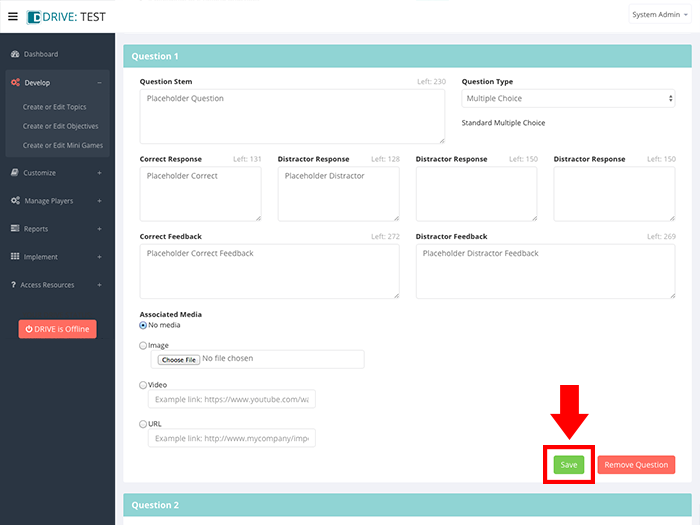
- Click SAVE. If you fail to click SAVE and leave this screen, you will lose your data.
- Repeat steps 3-8 for each question you include.
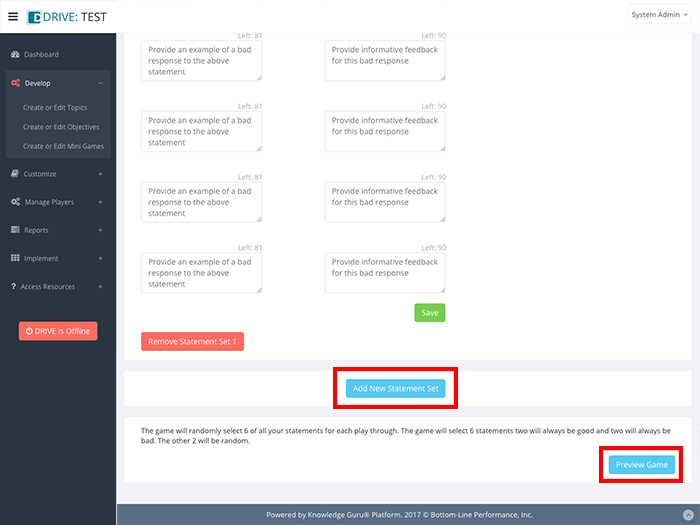
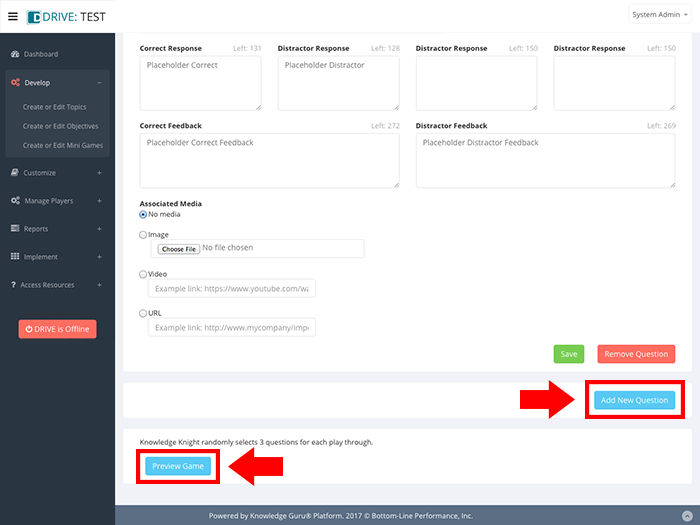
- For a game to be complete, you must create six questions, but you can have more. To add additional questions, click ADD NEW QUESTION at the bottom right of your screen.
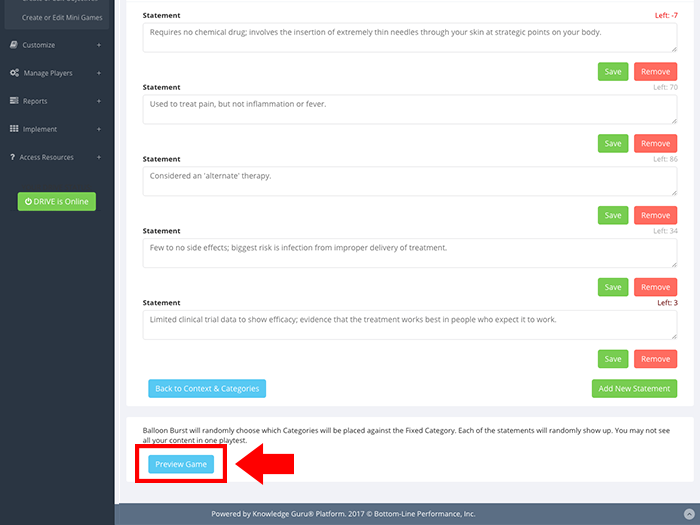
- When you finish adding content, preview your game by clicking PREVIEW GAME at the bottom right of your screen.
Click through the slideshow below to see the steps in action.
Best Practices
Games require at least six questions. This ensures a minimum of two play-throughs of the game. We recommend creating nine questions. This ensures variety, but keeps the number of play-throughs required for mastery to a reasonable amount.
An ideal series of three questions includes one question that encourages recall of knowledge coupled with two questions that require application of that knowledge in a job context the learner will encounter in the job.
True/False questions tend to be the easiest to answer, so limit your use of them.